Imagine transforming your look with a glamorous and voluminous hairstyle that exudes confidence and style. With “A Beginner’s Guide to Weave Installation: Step-by-Step Instructions,” you will be equipped with all the knowledge and guidance you need to master the art of weave installation. This comprehensive guide will take you through each step, from selecting the right weave to securing it seamlessly to your natural hair. Whether you’re a novice or have dabbled in weave installation before, this guide will empower you to achieve flawless and professional-looking results every time. Get ready to elevate your hairstyling game and unleash your inner diva with the help of this easy-to-follow guide!

This image is property of images.pexels.com.
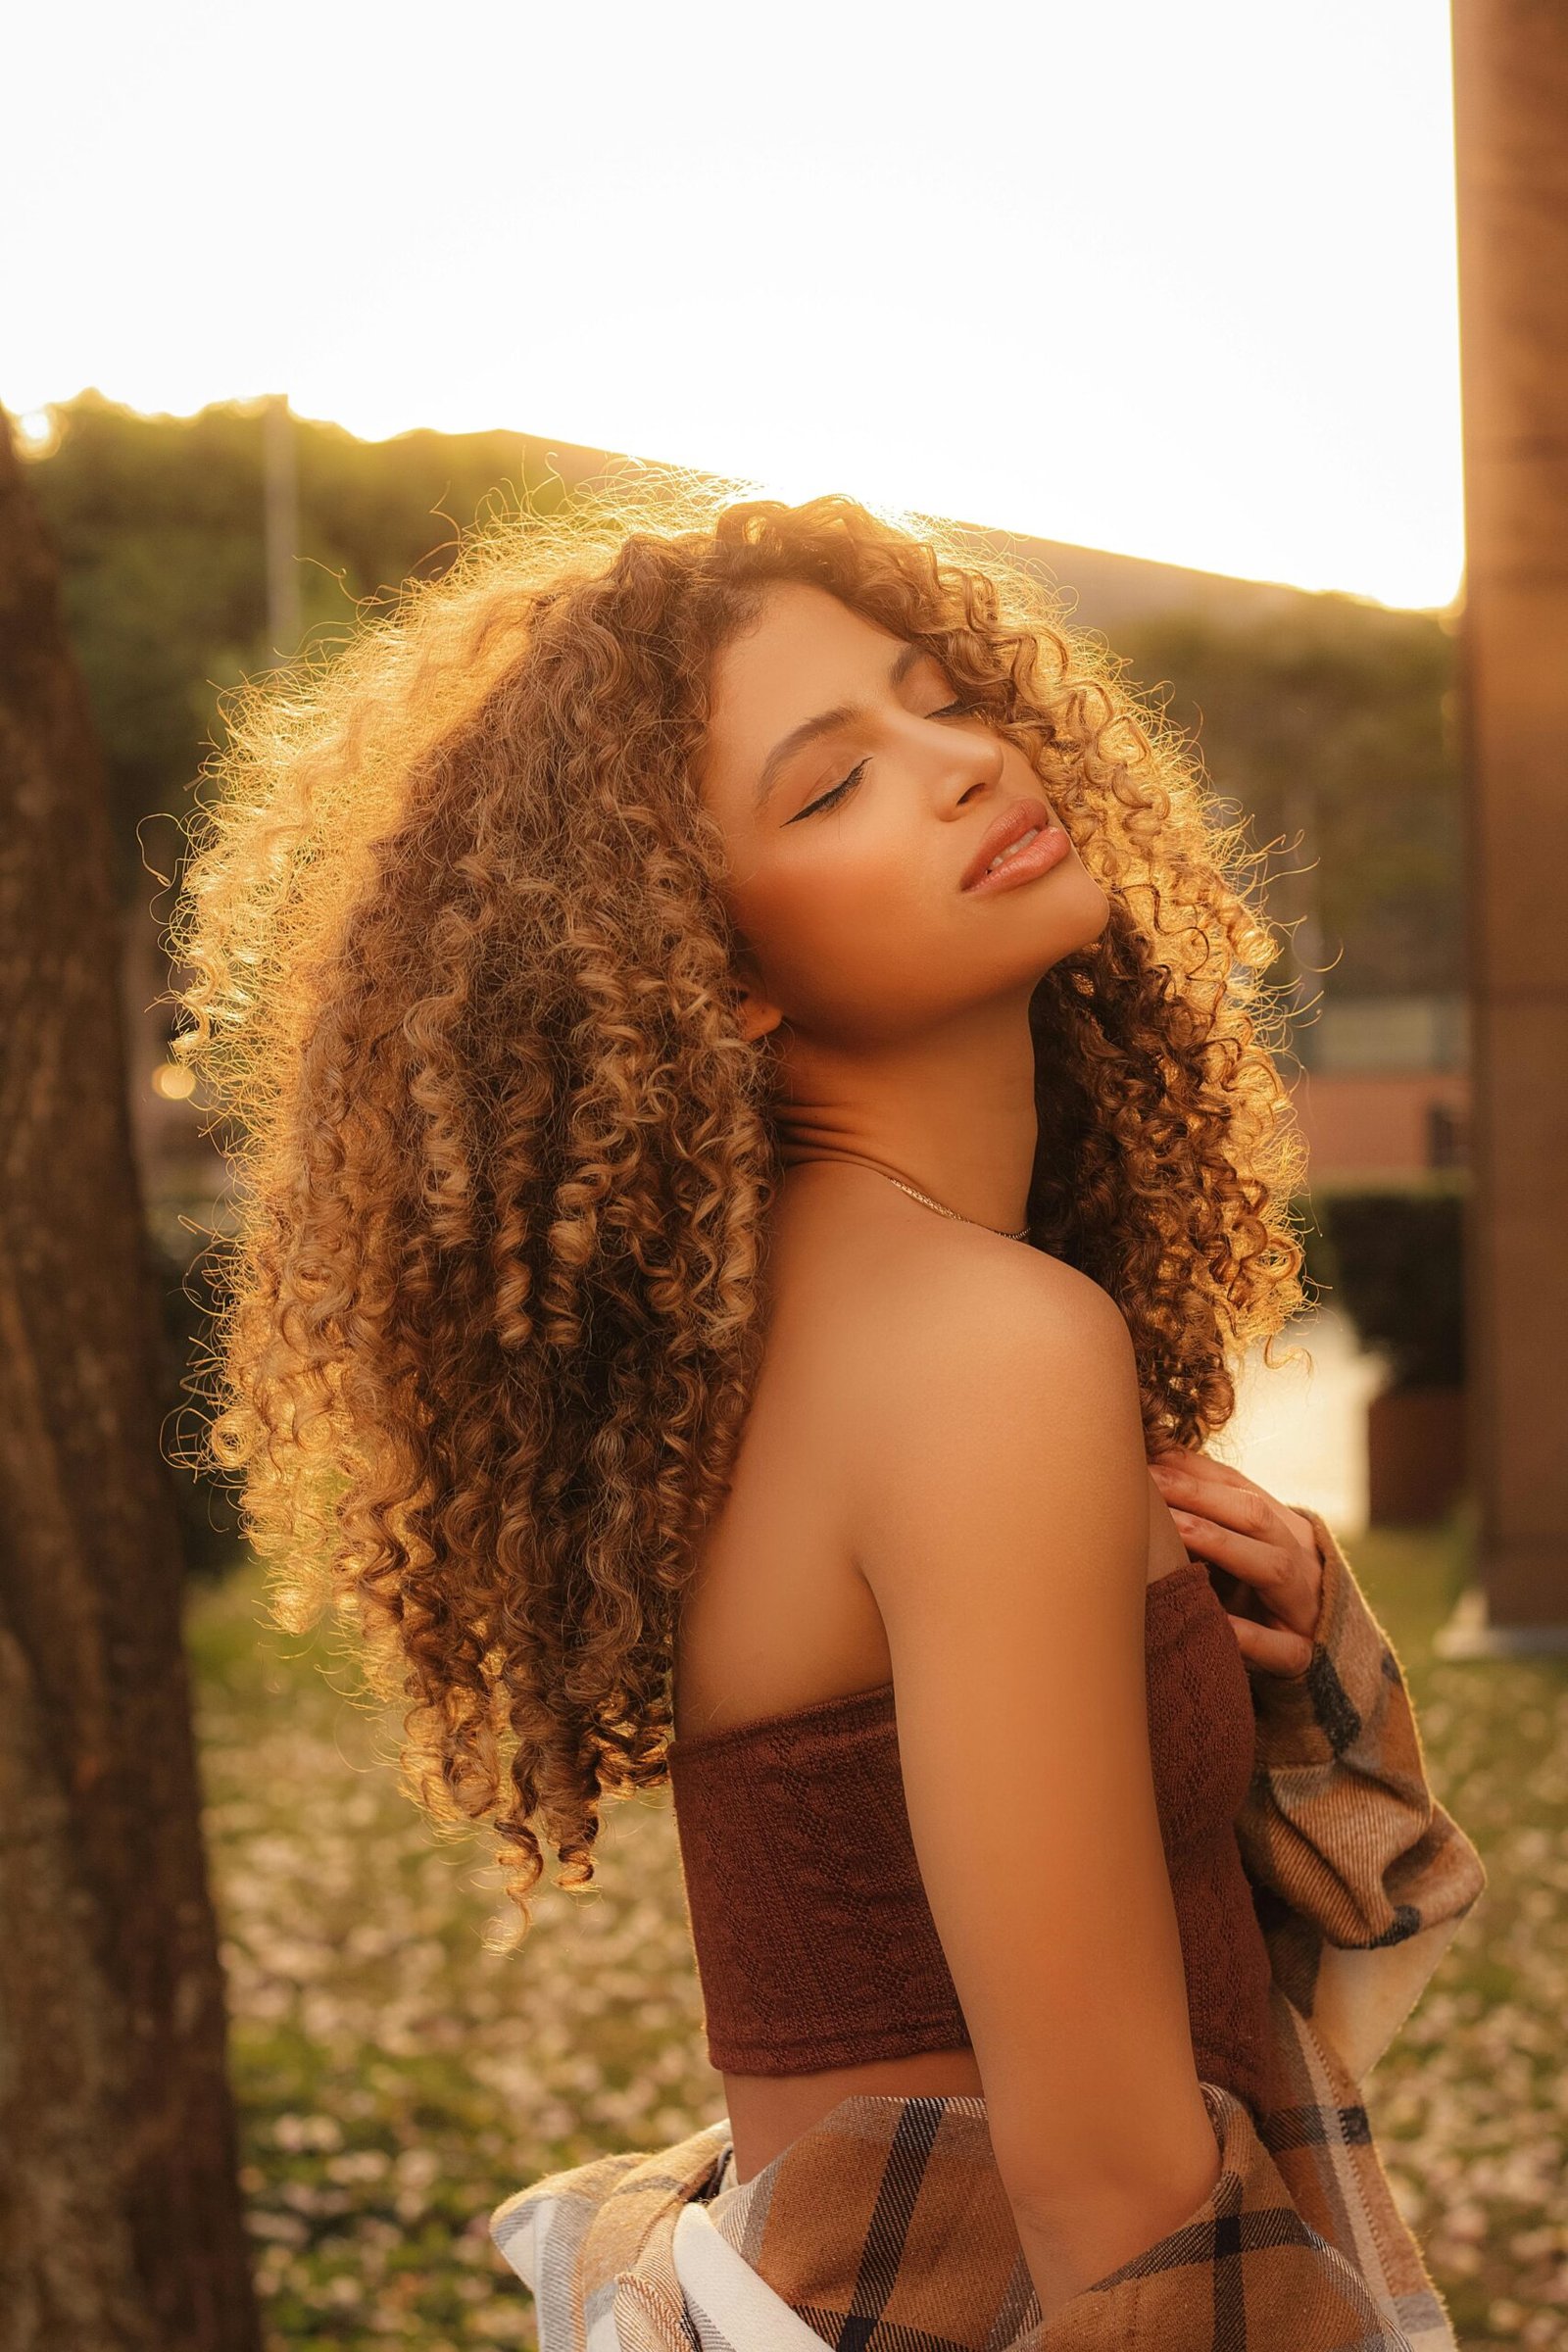
Choosing the Right Hair Extensions
When it comes to choosing the right hair extensions, there are a few key factors to consider. First and foremost, you’ll want to determine the desired length and style. Think about whether you want to add length, volume, or both to your natural hair. Consider your personal style and the look you want to achieve.
Once you have an idea of the length and style you’re after, it’s time to select the type of hair extensions that will best suit your needs. There are several options to choose from, including clip-in extensions, tape-in extensions, and sew-in extensions. Each type has its pros and cons, so take the time to research and find the one that will work best for you.
Another important consideration when choosing hair extensions is the texture and color. You’ll want to select extensions that closely match the texture of your natural hair to achieve a seamless blend. Additionally, finding the right color match is crucial for a natural-looking result. Consider whether you want to match your current hair color or experiment with something different.
Preparing Your Natural Hair
Before you can begin installing your hair extensions, it’s essential to properly prepare your natural hair. This will ensure that the extensions stay in place and blend seamlessly with your own hair.
Start by washing and conditioning your hair to remove any product buildup or residue. Choose a gentle, sulfate-free shampoo and a nourishing conditioner to keep your hair healthy and hydrated. Be sure to thoroughly rinse out all the products to prevent any residue from interfering with the installation process.
Next, you’ll want to detangle your hair to minimize any knots or tangles. Use a wide-toothed comb or a detangling brush to gently work through any knots, starting from the ends and working your way up to the roots. Once your hair is detangled, it’s time to blow-dry it or let it air dry, depending on your preference.
If your natural hair has any split ends or damage, consider trimming it before installing the extensions. This will ensure that your hair looks its best and the extensions can be seamlessly blended. Additionally, you can style your natural hair as desired before moving on to the next step.

This image is property of images.pexels.com.
Gathering the Necessary Tools and Equipment
To properly install your hair extensions, you’ll need to gather a few essential tools and equipment. These include the hair extensions themselves, a weaving cap or net, weaving thread and needle, scissors, a comb, and hair clips or clamps.
The hair extensions you choose will depend on your preferred type and brand. Make sure to select high-quality extensions that will blend well with your natural hair and provide a long-lasting result. Consider the length, style, and color of the extensions to ensure they match your desired look.
A weaving cap or net is essential for providing a secure base for the extensions. It helps to distribute the weight of the extensions evenly and protects your natural hair. Choose a cap or net that fits comfortably and securely on your head.
Weaving thread and needle are used to sew the extensions onto the cap or net. Make sure to choose a sturdy thread and a needle that is appropriate for the size of the weave.
Scissors and a comb will be needed to trim and style the hair extensions as desired. Opt for sharp, professional-grade scissors to ensure clean cuts and a comb with wide teeth to prevent damage to the extensions.
Hair clips or clamps are helpful for sectioning off your natural hair and keeping it in place while installing the extensions. They make the process easier and more organized.
Preparing the Hair Extensions
Before you can begin installing the hair extensions, you’ll need to prepare them properly. This involves measuring and cutting the extensions to the desired length, sealing the ends to prevent fraying, and handling any end reversals. Additionally, creating wefts will help to secure the extensions in place.
Start by measuring the extensions against your head to determine the desired length. Once you have the measurements, carefully cut the extensions to size. Make sure to use sharp scissors and neat cutting techniques to ensure clean and even ends.
To prevent the ends of the extensions from fraying, it’s important to seal them. You can do this by applying a heat sealant or using a sealing tool specifically designed for hair extensions. This will extend the lifespan of the extensions and keep them looking neat and tidy.
If your hair extensions have any end reversals, where the hair is flipped in the opposite direction, you’ll need to address this. Gently comb through the extensions to identify any reversals and use a straightening iron or hot water to fix them. This will ensure that the extensions lay flat and blend seamlessly with your natural hair.
Creating wefts is the final step in preparing your hair extensions. Wefts are rows of hair that have been securely sewn together. They provide a more stable base for attaching the extensions. To create wefts, take the measured and cut extensions and sew them together using the weaving thread and needle. Make sure to sew them tightly and evenly to create a strong and durable weft.

This image is property of images.pexels.com.
Installing the Weaving Cap or Net
Once your natural hair and extensions are prepared, it’s time to install the weaving cap or net. The cap or net will provide a secure base for the extensions, ensuring they stay in place and blend seamlessly with your natural hair.
To secure the cap or net on your hair, start by parting your natural hair down the middle and combing it outwards from the center. This will create two separate sections of hair on each side of your head. Place the cap or net over your head, making sure to center it along the part and pull it down to cover your natural hair and scalp.
If you prefer, you can use an adhesive to further secure the cap or net. This is optional and can provide added stability if desired.
Once the cap or net is in place, take a pair of scissors and carefully trim any excess material that may be hanging down. This will ensure a neater and more comfortable fit.
Attaching the Hair Extensions
With the cap or net securely in place, it’s time to start attaching the hair extensions. This involves creating a base braid, sewing the extensions onto the base braid, and repeating the process for each row. Finally, you’ll need to blend the extensions with your natural hair for a seamless look.
Start by creating a base braid along the perimeter of the cap or net. This braid will serve as the foundation for attaching the extensions. Take a small section of your natural hair along the edge of the cap or net and divide it into three equal sections. Begin braiding by crossing the right section over the middle section, then the left section over the middle section. Continue braiding, adding small sections of natural hair as you go, until you reach the end of the cap or net. Tie off the braid with a small elastic band.
Once the base braid is in place, it’s time to sew the extensions onto the braid. Take a weft of extensions and align it along the base braid. Use the weaving thread and needle to sew the weft onto the braid, making sure to securely attach it. Continue this process for each row of extensions, working your way up towards the top of your head. Remember to start with the longest wefts at the bottom and gradually transition to shorter wefts towards the top.
To blend the extensions with your natural hair, use a comb to gently tease the roots near the base braid. This will help to create a seamless transition between your natural hair and the extensions.
Styling and Blending the Hair
Once the hair extensions are securely attached, it’s time to style and blend them with your natural hair. This involves trimming and shaping the hair, creating partings, using styling tools and products, and ensuring a seamless blend.
Start by trimming and shaping the hair extensions to achieve your desired style. Use sharp scissors to make small adjustments and create layers or a specific shape. This will help the extensions blend more naturally with your own hair.
Creating partings is another important step in achieving a natural-looking result. Use a comb to create partings that match the natural parting in your hair. This will help the extensions to fall in a way that mimics your natural hair and avoid any obvious lines or gaps.
When it comes to styling tools and products, use them as desired to achieve your desired look. Curling irons, straighteners, and other styling tools can be used to add texture or create specific hairstyles. Just be mindful of the heat settings and use a heat protectant spray to prevent any damage to the extensions.
To ensure a seamless blend between your natural hair and the extensions, use a comb or your fingers to gently blend the two together. This will help to create a smooth and cohesive look.
Caring for Your Hair Extensions
Proper care and maintenance are essential for keeping your hair extensions looking their best and ensuring their longevity. This involves washing and conditioning the extensions, avoiding heat damage, protecting the extensions during sleep, and regular maintenance.
When it comes to washing and conditioning the extensions, it’s important to use products specifically formulated for hair extensions. Choose a gentle, sulfate-free shampoo and a nourishing conditioner. Carefully wash the extensions, making sure to avoid scrubbing or tangling them. Rinse them thoroughly and gently squeeze out any excess water. Apply conditioner and let it sit for a few minutes before rinsing it out completely. Avoid combing or brushing the extensions while they’re wet to prevent any damage.
To avoid heat damage, it’s best to minimize the use of hot styling tools on the extensions. If you do use heat, make sure to use a heat protectant spray and keep the temperature low. If possible, air drying and using heatless styling methods is preferable.
When it comes to protecting the extensions during sleep, consider wrapping your hair with a satin or silk scarf or using a satin or silk pillowcase. This will help to prevent friction and any potential damage or tangling.
Regular maintenance and upkeep are important for keeping your hair extensions in good condition. This includes regular brushing or combing, avoiding excessive pulling or tugging, and addressing any tangles or knots as soon as they occur.
Removing the Hair Extensions
When it’s time to remove the hair extensions, you’ll need to carefully unweave and cut the thread, remove the weaving cap or net, and detangle and wash the extensions. This process should be done gently and with care to avoid any damage to your natural hair or the extensions.
Start by carefully unweaving and cutting the thread that is securing the extensions to the base braid. Take your time and be cautious not to pull or tug too forcefully. Once the thread is cut, gently remove the extensions from the base braid.
After the extensions are removed, it’s time to remove the weaving cap or net. Carefully lift and remove the cap or net, taking care not to pull or snag your natural hair.
To detangle and wash the extensions, gently comb through them to remove any knots or tangles. Fill a basin or sink with lukewarm water and add a small amount of sulfate-free shampoo. Swirl the extensions in the water and gently squeeze them to distribute the shampoo. Rinse thoroughly and repeat with conditioner if desired. Avoid twisting or wringing the extensions, as this can cause damage. Gently squeeze out excess water and lay the extensions flat to dry.
Maintaining Your Natural Hair
While caring for your hair extensions is important, it’s equally essential to maintain the health and well-being of your natural hair. This involves deep conditioning and moisturizing, protective styling, and regular trims.
Deep conditioning and moisturizing your natural hair will help to keep it healthy and hydrated. Use a deep conditioning treatment once a week or as needed to nourish and revive your hair. Additionally, use leave-in conditioners or oils to keep your hair moisturized and prevent dryness.
Protective styling is another great way to maintain the health of your natural hair. This involves wearing hairstyles that minimize manipulation and protect your hair from damage. Braids, twists, buns, and other low-maintenance styles are ideal for protecting your natural hair while wearing extensions.
Regular trims are important for preventing split ends and maintaining the overall health of your hair. Aim to get a trim every 6-8 weeks or as needed to keep your hair looking its best.
By following these steps and taking proper care of both your natural hair and the extensions, you can enjoy beautiful and long-lasting results. Remember to be gentle, use high-quality products, and listen to your hair’s needs throughout the process. With the right approach and a little patience, you can achieve the hair of your dreams with hair extensions.